FAB Builder unifies Low-code AI development, Customer engagement, Product intelligence, and in-app adoption so every team can build faster, understand users better, and continuously improve product growth.
Trusted by teams & founders
See how each tool solves challenges in your business journey.
FAB PRODUCTS
Drive product growth across the entire user journey
One Platform to Build, Track, Engage, and Grow Your Product
Features
Every Great Product Follows the Same Journey.
FAB Builder delivers comprehensive business solutions with intuitive features designed to enhance your team's productivity and streamline workflows.
Build
Turn ideas into production-ready applications faster with AI-powered development.
Launch
Bring products to market confidently with scalable, customer-ready experiences.
Understand
See how users interact, where they struggle, and what drives engagement with actionable analytics.
Improve
Identify friction, optimize user journeys, and make every product decision backed by data.
Adopt
Guide users with contextual in-app experiences that accelerate activation, feature adoption, and time-to-value.
Grow
Drive sustainable product growth with connected insights and actions.
FAB STUDIO
Develop Web & Mobile Apps, With Generative AI
Create custom apps in minutes without any technical expertise.
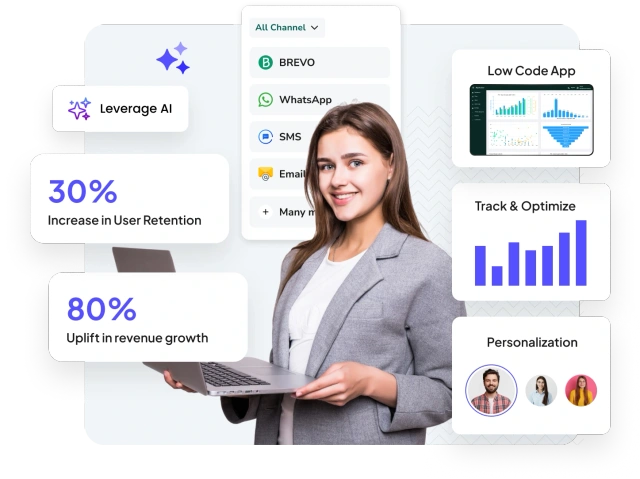
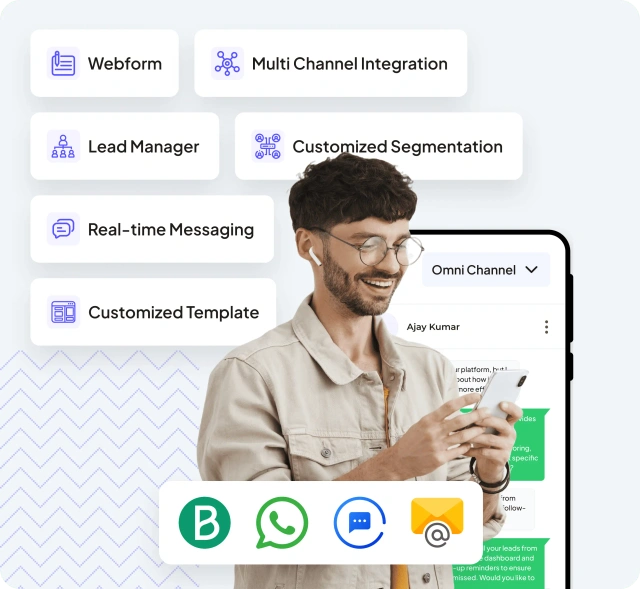
Deliver exceptional customer experiences with centralized lead management, omnichannel communication, and intelligent workflow automation—all within a single CRM platform.
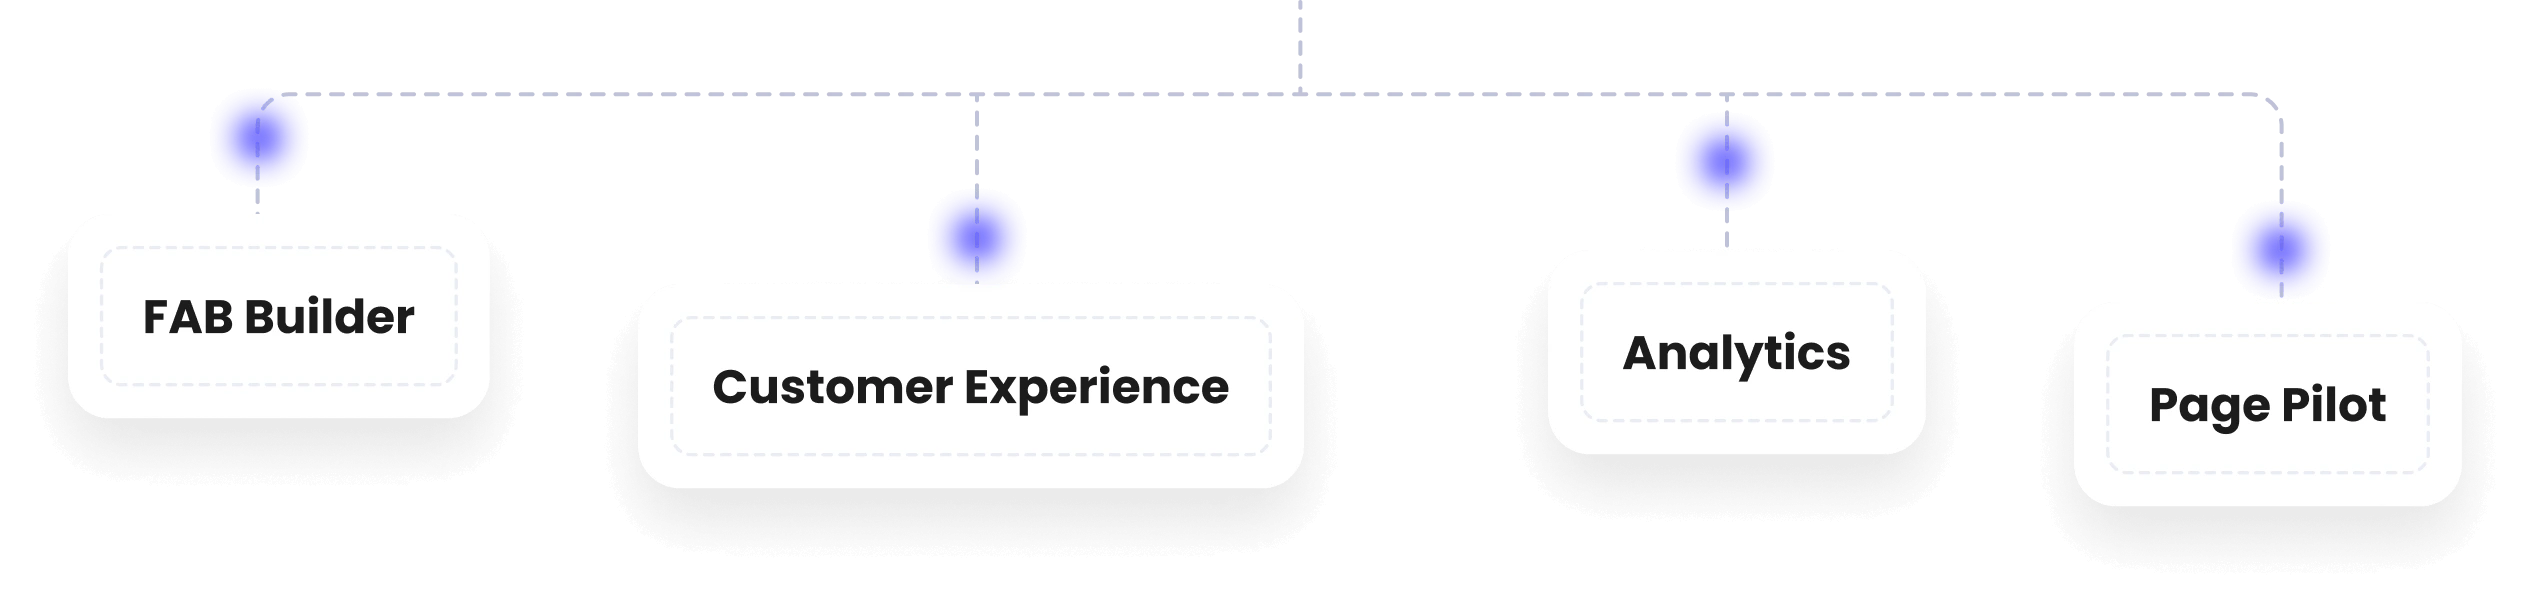
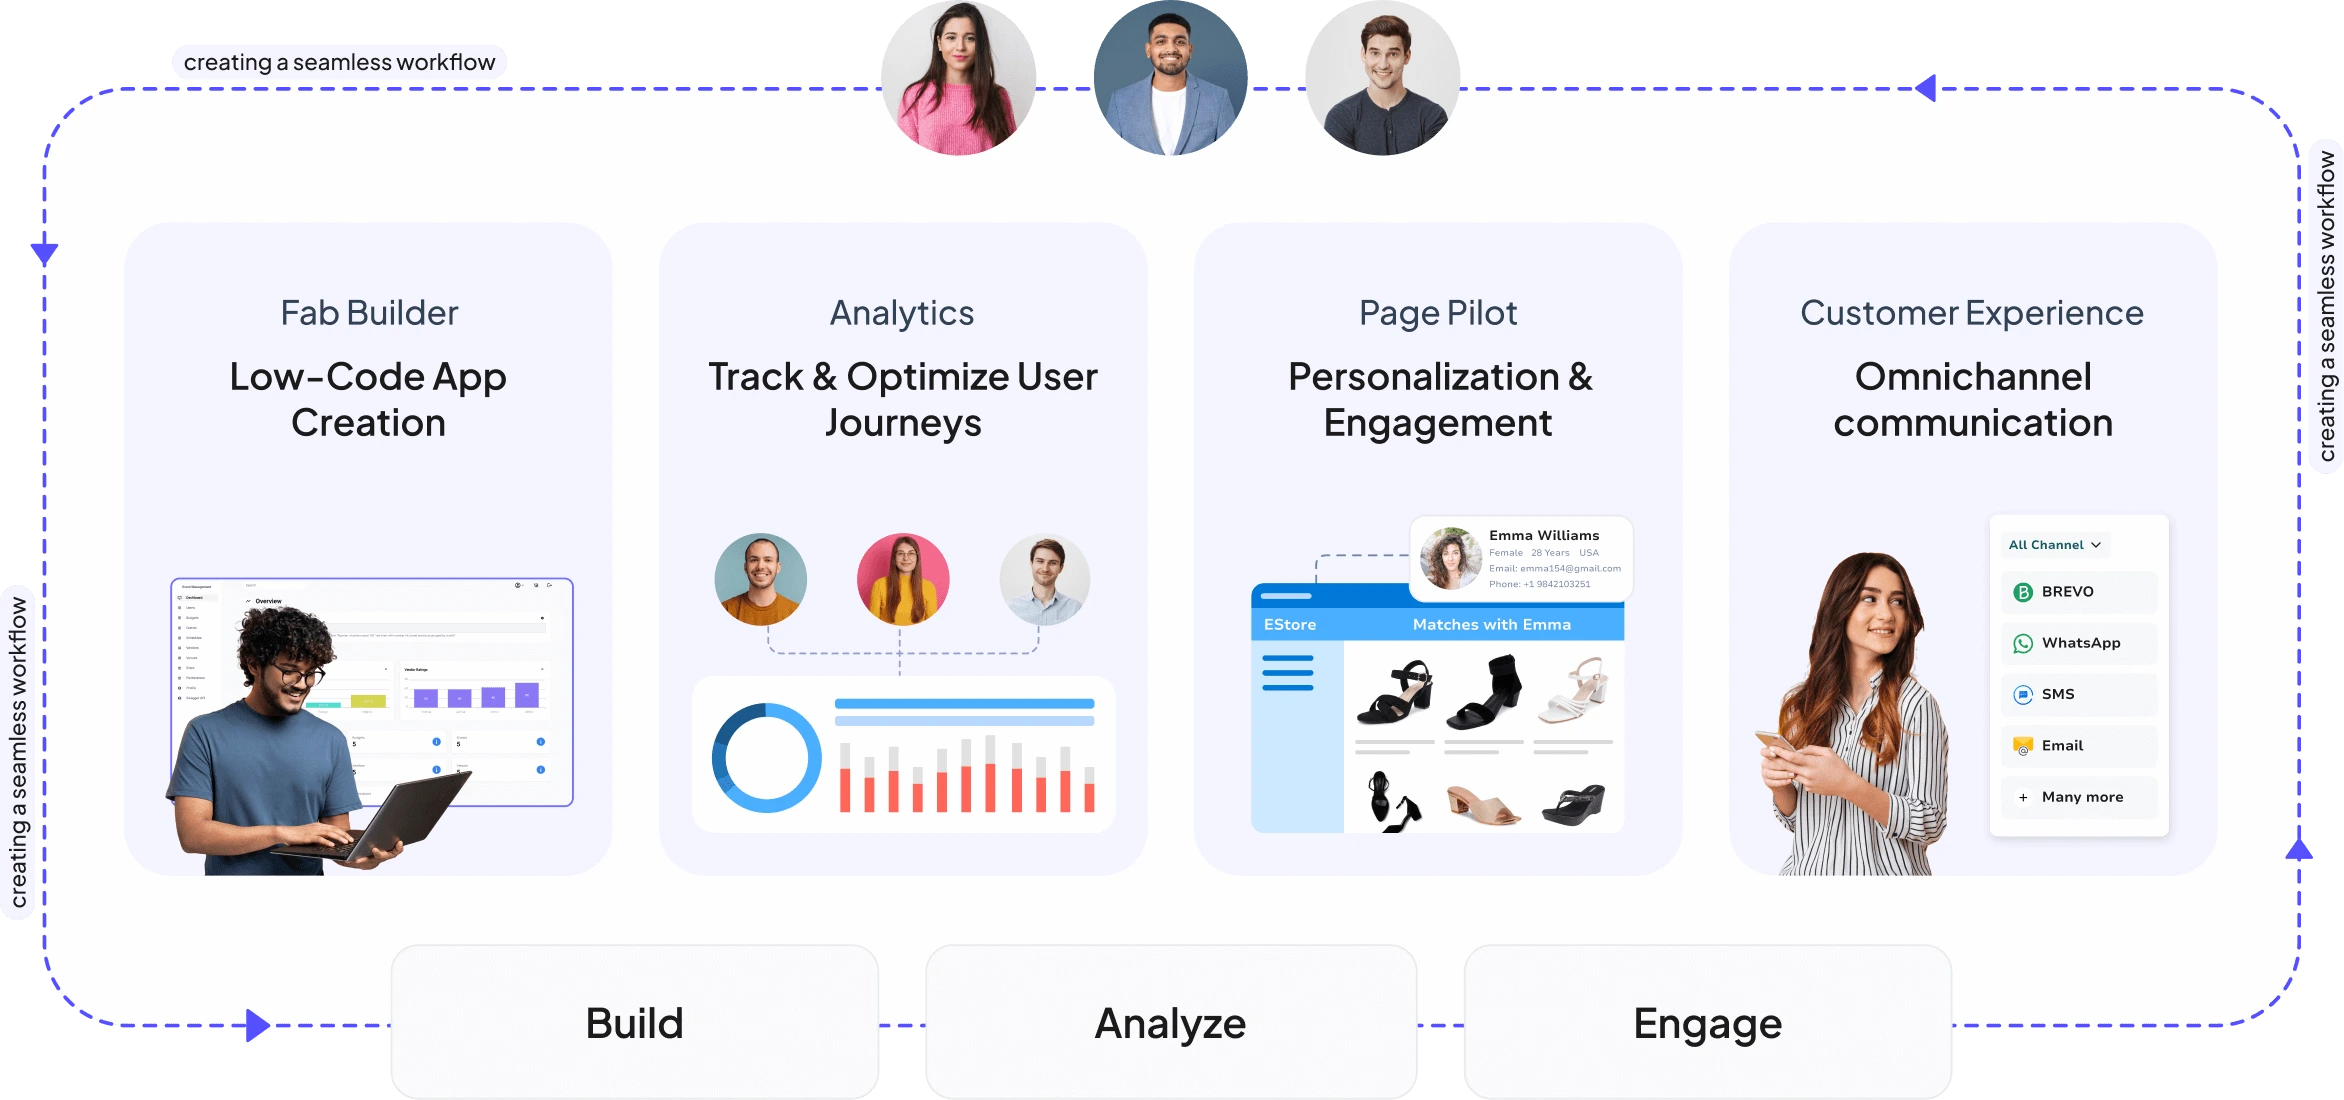
FAB Builder's products are designed to complement each other — build your app with Studio, manage relationships in CRM, understand behavior with Analytics, and guide users with Page Pilot. Products can be connected together on request to fit your workflow — talk to us about setting up the right combination for your team.
We Gain the Expertise for Integrating 3rd Party Products
Testimonials
Riaz Khan
Sales Director at CodeRower
“This CRM has completely transformed our sales process. We now close deals 30% faster thanks to the automated lead nurturing!”
★★★★★
Rated 5/5
Ashwani
Marketing Manager at IntelliInvest
“The lead funnel tracking helped us identify bottlenecks in our process and optimize our pipeline effectively.”
★★★★★
Rated 5/5
Ankit
Marketing Manager at PaySwish
“The best part? The CRM integrates seamlessly with our other tools. We’ve seen a noticeable increase in conversions since using it.”
★★★★★
Rated 5/5
Deepak Gupta
Sr Frontend Dev.
“I was amazed at how quickly FAB Builder generated a full-stack app for me. No vendor lock-in, just code I can edit and deploy instantly.”
★★★★★
Rated 5/5
Ajay Goswami
Frontend Dev.
“FAB Builder helped me turn my app idea into a working product within minutes. The best part I fully own the clean, ready-to-use code.”
★★★★★
Rated 5/5
Kushal Singh
Sr Frontend Dev.
“FAB Builder Analytics makes tracking user journeys effortless. I get real-time insights that help me make smarter decisions instantly.”
★★★★★
Rated 5/5
Frequently Asked Questions
FAB Builder is an all-in-one platform that helps businesses build full-stack applications, engage customers through CX tools, and analyze performance with real-time analytics — all without writing complex code.
Startups, agencies, enterprises, and developers looking to streamline app development, integrate customer engagement tools, or launch SaaS-ready platforms can benefit from FAB Builder.
Yes. FAB Builder offers low-code and code generation tools, allowing users to auto-generate frontend, backend, and databases using prebuilt templates.
FAB Builder’s CX platform lets you connect with customers via WhatsApp API, automate workflows, set up shared inboxes, and launch real-time marketing campaigns.
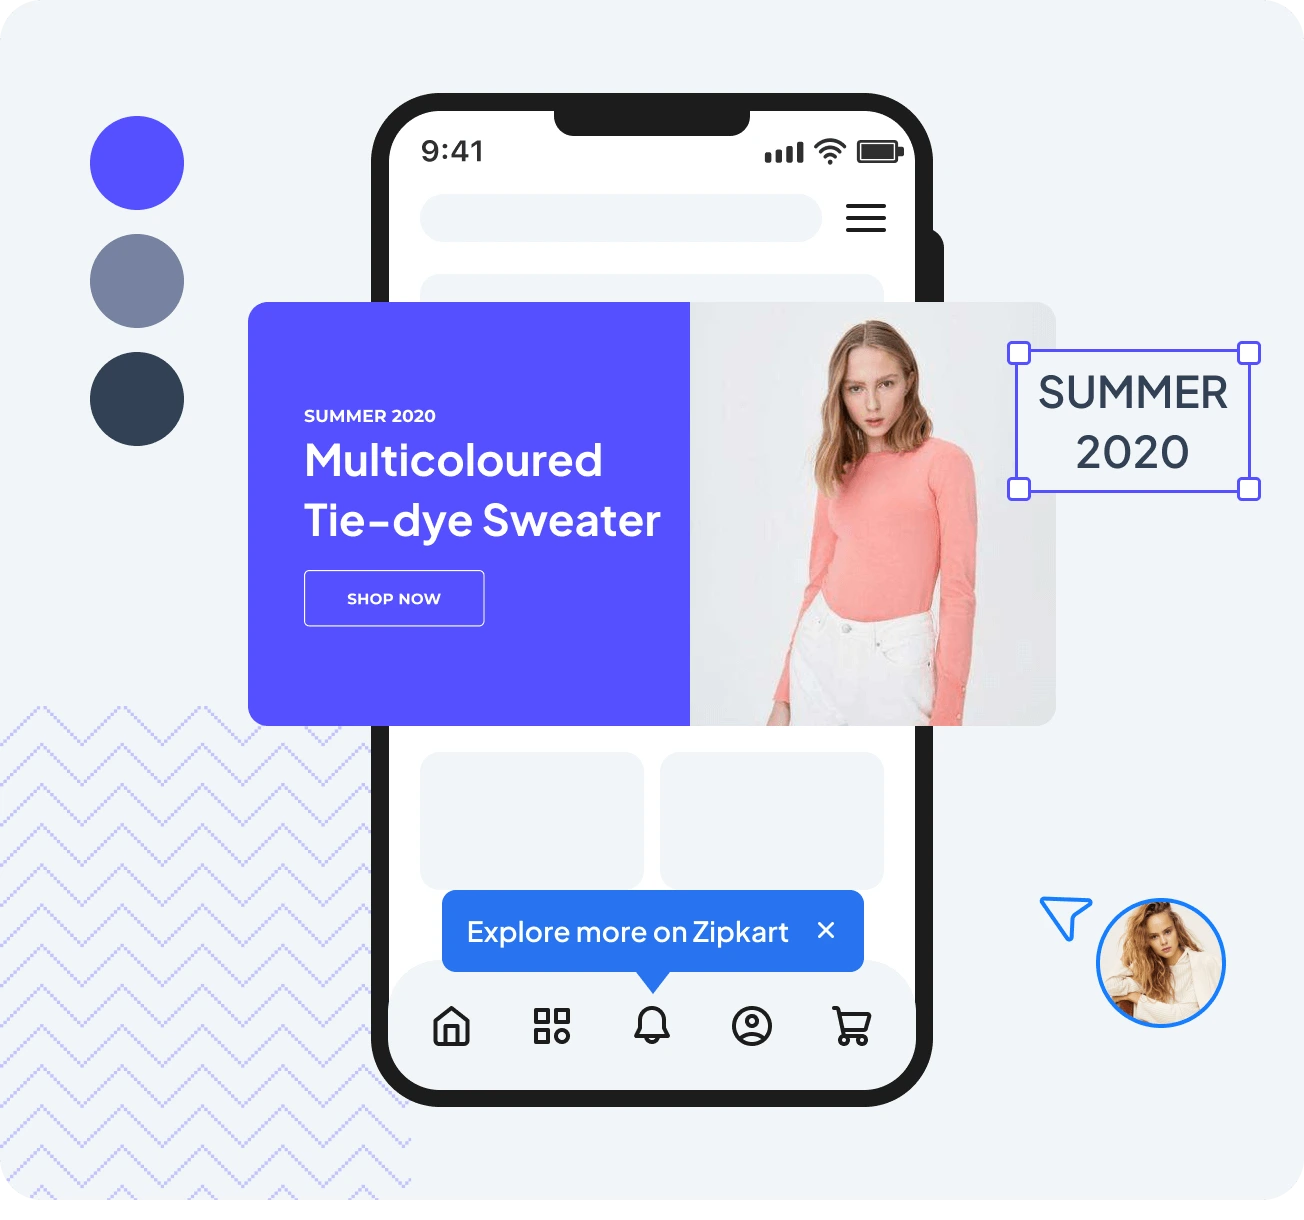
Yes. Using the Page Pilot feature, you can create no-code onboarding flows, in-app guides, banners, and interactive FAQs.
Yes. FAB Builder empowers non-technical users to create fully functional applications with minimal effort. Its intuitive interface, pre-built templates, and code generation capabilities enable users to build apps without coding knowledge, while still offering flexibility and power for developers.
FAB Builder includes WhatsApp Business API integration, in-app guides, automation workflows, and a shared team inbox to streamline customer support and engagement.
Looking for Expert Guidance
Our customers start generating 3x revenue with our platform.