Summarize and analyze this article with:
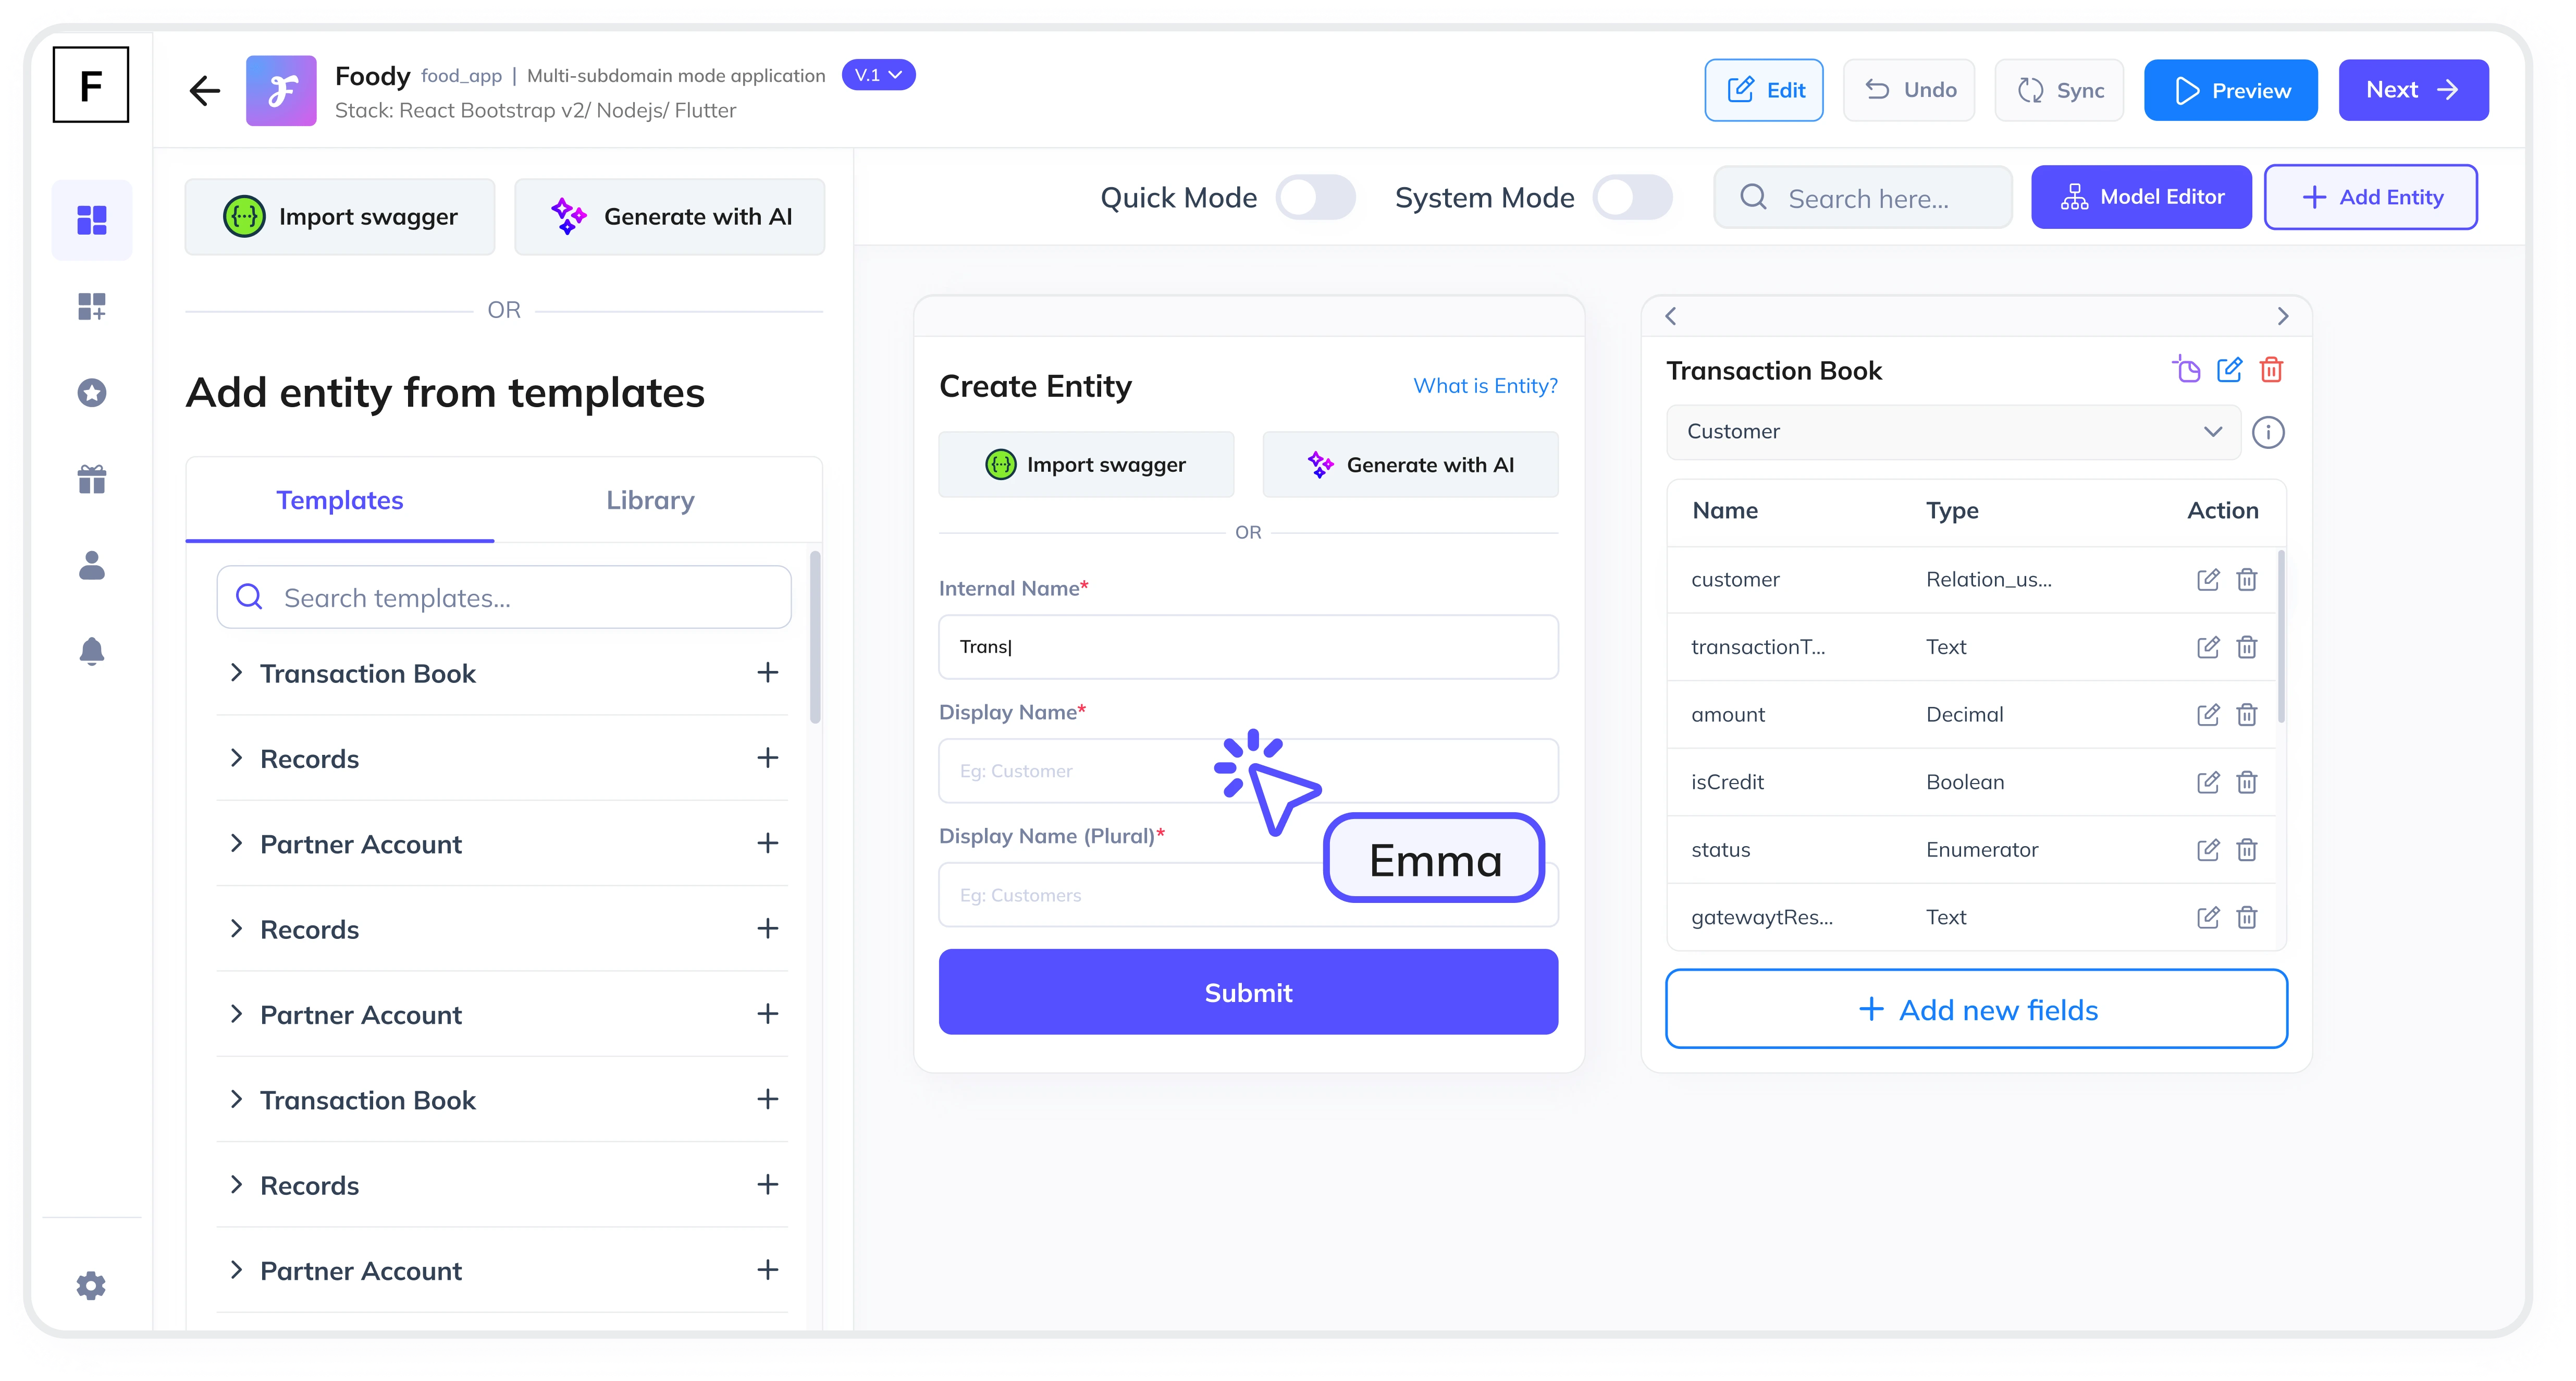
In today's fast-paced business environment, monitoring and managing expenses is critical for maintaining financial health. An Expense Tracking Module is a must-have feature for any financial or accounting system. It helps businesses track spending, analyze costs, and make informed decisions. In this guide, we’ll walk you through the steps to create a robust expense tracking module and how FAB Builder can simplify the process with its low-code platform.
Why Do You Need an Expense Tracking Module?
An expense tracking module allows businesses to:
- Monitor business spending in real-time.
- Generate detailed expense reports for analysis.
- Ensure compliance with financial policies.
- Streamline reimbursement processes.
- Integrate with payment gateways for seamless transactions.
Step 1: Define Your Requirements
Before diving into development, outline the key features your expense tracking module should have:
- Expense Categories: Define categories like travel, utilities, office supplies, etc.
- Role-Based Permissions: Ensure only authorized users can add, edit, or approve expenses.
- Bulk Data Import/Export: Allow users to import/export expense data via Excel for reporting and analysis.
- Payment Gateway Integration: Enable payment processing for reimbursements or subscriptions.
- File Storage: Provide options to store receipts and documents using cloud storage like AWS S3 or Google Cloud Storage.
Step 2: Choose the Right Technology Stack
With FAB Builder, you can choose from a variety of technology stacks, including:
- MERN (MongoDB, Express.js, React, Node.js)
- MEAN (MongoDB, Express.js, Angular, Node.js)
- React with Tailwind, Bootstrap, or Material UI
- Vue, Angular, or Next.js
- Dotnet, Java, or SQL for backend
- Android Native or iOS Native for mobile apps
FAB Builder ensures interoperability, allowing you to switch tech stacks at any stage without losing functionality.
Step 3: Design the User Interface
Create an intuitive and user-friendly interface for your expense tracking module. Key UI components include:
- Dashboard for an overview of expenses.
- Forms for adding and editing expenses.
- Tables for displaying expense history.
- Charts and graphs for visual analysis.
Step 4: Develop Core Features
Using FAB Builder’s low-code platform, you can quickly develop the following features:
- Expense Entry: Allow users to add expenses with details like date, category, amount, and description.
- Approval Workflow: Implement a multi-level approval process for expenses.
- Reporting: Generate customizable reports for expense analysis.
- Integration: Connect with payment gateways like Stripe, RazorPay, or PayPal for seamless transactions.
Step 5: Implement Security and Permissions
Security is paramount for financial systems. FAB Builder provides:
- Role-based access control to ensure only authorized users can perform specific actions.
- Multi-layer security for file uploads and retrievals.
- Configurable file storage options to secure sensitive data.
Step 6: Test and Deploy
Once development is complete, test the module thoroughly to ensure it meets all requirements. With FAB Builder, you can deploy your application to the cloud with just one click. Supported platforms include AWS, GCP, and Azure.
Step 7: Scale and Customize
FAB Builder allows you to scale your application as your business grows. You can also customize the module to meet specific business needs. For example, you can enable multi-tenant configurations to create a SaaS application and sell subscriptions to B2B customers.

Why Choose FAB Builder?
FAB Builder simplifies the development process with:
- AI-assisted entity creation based on your application description.
- Full source code download for complete ownership and customization.
- Production-ready code that can be deployed instantly.
- Flexible tech stack interoperability.
- Expert consultation and development services.
Ready to build your expense tracking module?
Explore FAB Builder today and take your financial systems to the next level!


