Summarize and analyze this article with:
In today's fast-paced business environment, effective project management is crucial for success. One of the key components of any project management tool is the Progress Tracking Module. This module allows teams to monitor project milestones and deadlines, ensuring that projects stay on track and are completed on time. In this guide, we'll walk you through the steps to create a Progress Tracking Module for your project management tool.
Step 1: Define Your Requirements
Before you start building your Progress Tracking Module, it's important to define your requirements. Consider the following questions:
- What milestones and deadlines do you need to track?
- Who will be using the module, and what are their roles?
- What kind of reporting and analytics do you need?
- Do you need integration with other tools or systems?
By clearly defining your requirements, you can ensure that your Progress Tracking Module meets the needs of your users.
Step 2: Choose the Right Technology Stack
Choosing the right technology stack is crucial for the success of your Progress Tracking Module. With FAB Builder, you have the flexibility to choose from a variety of technology stacks, including MERN, MEAN, ReactJs with AntDesign, Vue, Angular, NextJs, NodeJs, Dotnet, Java, SQL, Android Native, and iOS native development. This flexibility ensures that your module can adapt to changes in your project requirements.
Step 3: Design the User Interface
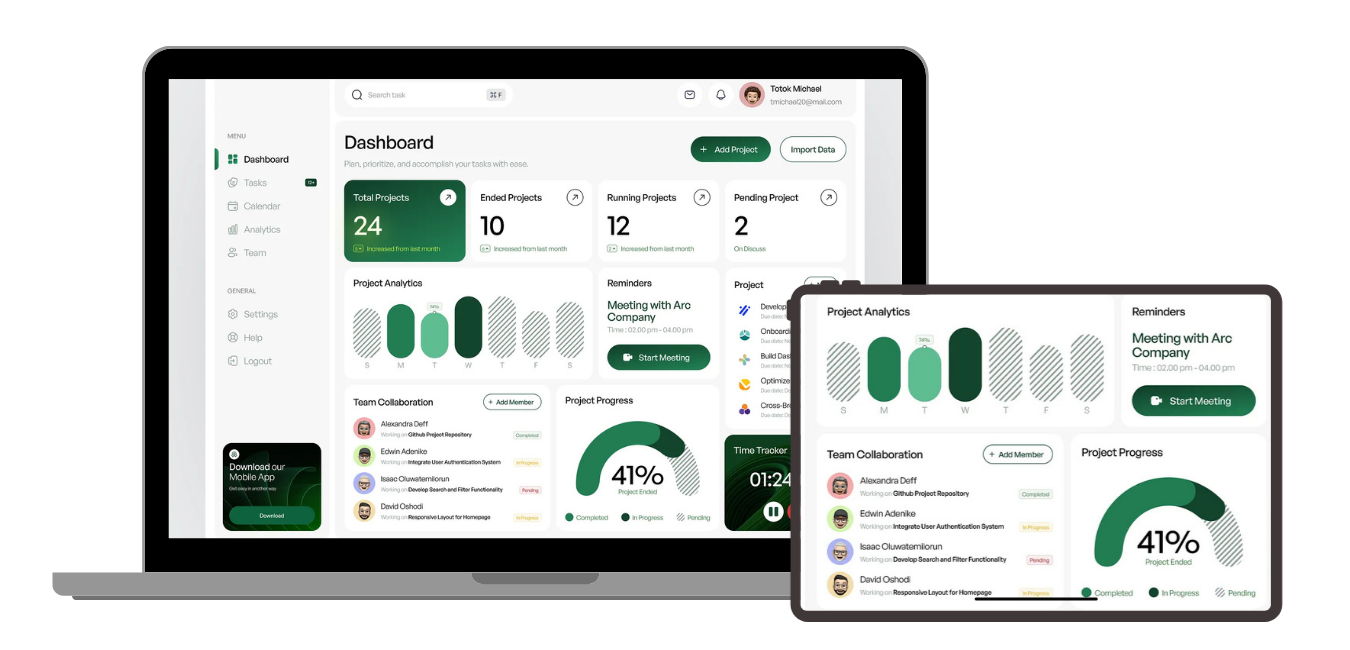
The user interface (UI) of your Progress Tracking Module should be intuitive and easy to use. Consider the following design principles:
- Use clear and concise labels for milestones and deadlines.
- Provide visual indicators, such as progress bars or color-coded statuses, to show the status of each milestone.
- Include filters and sorting options to allow users to easily find the information they need.
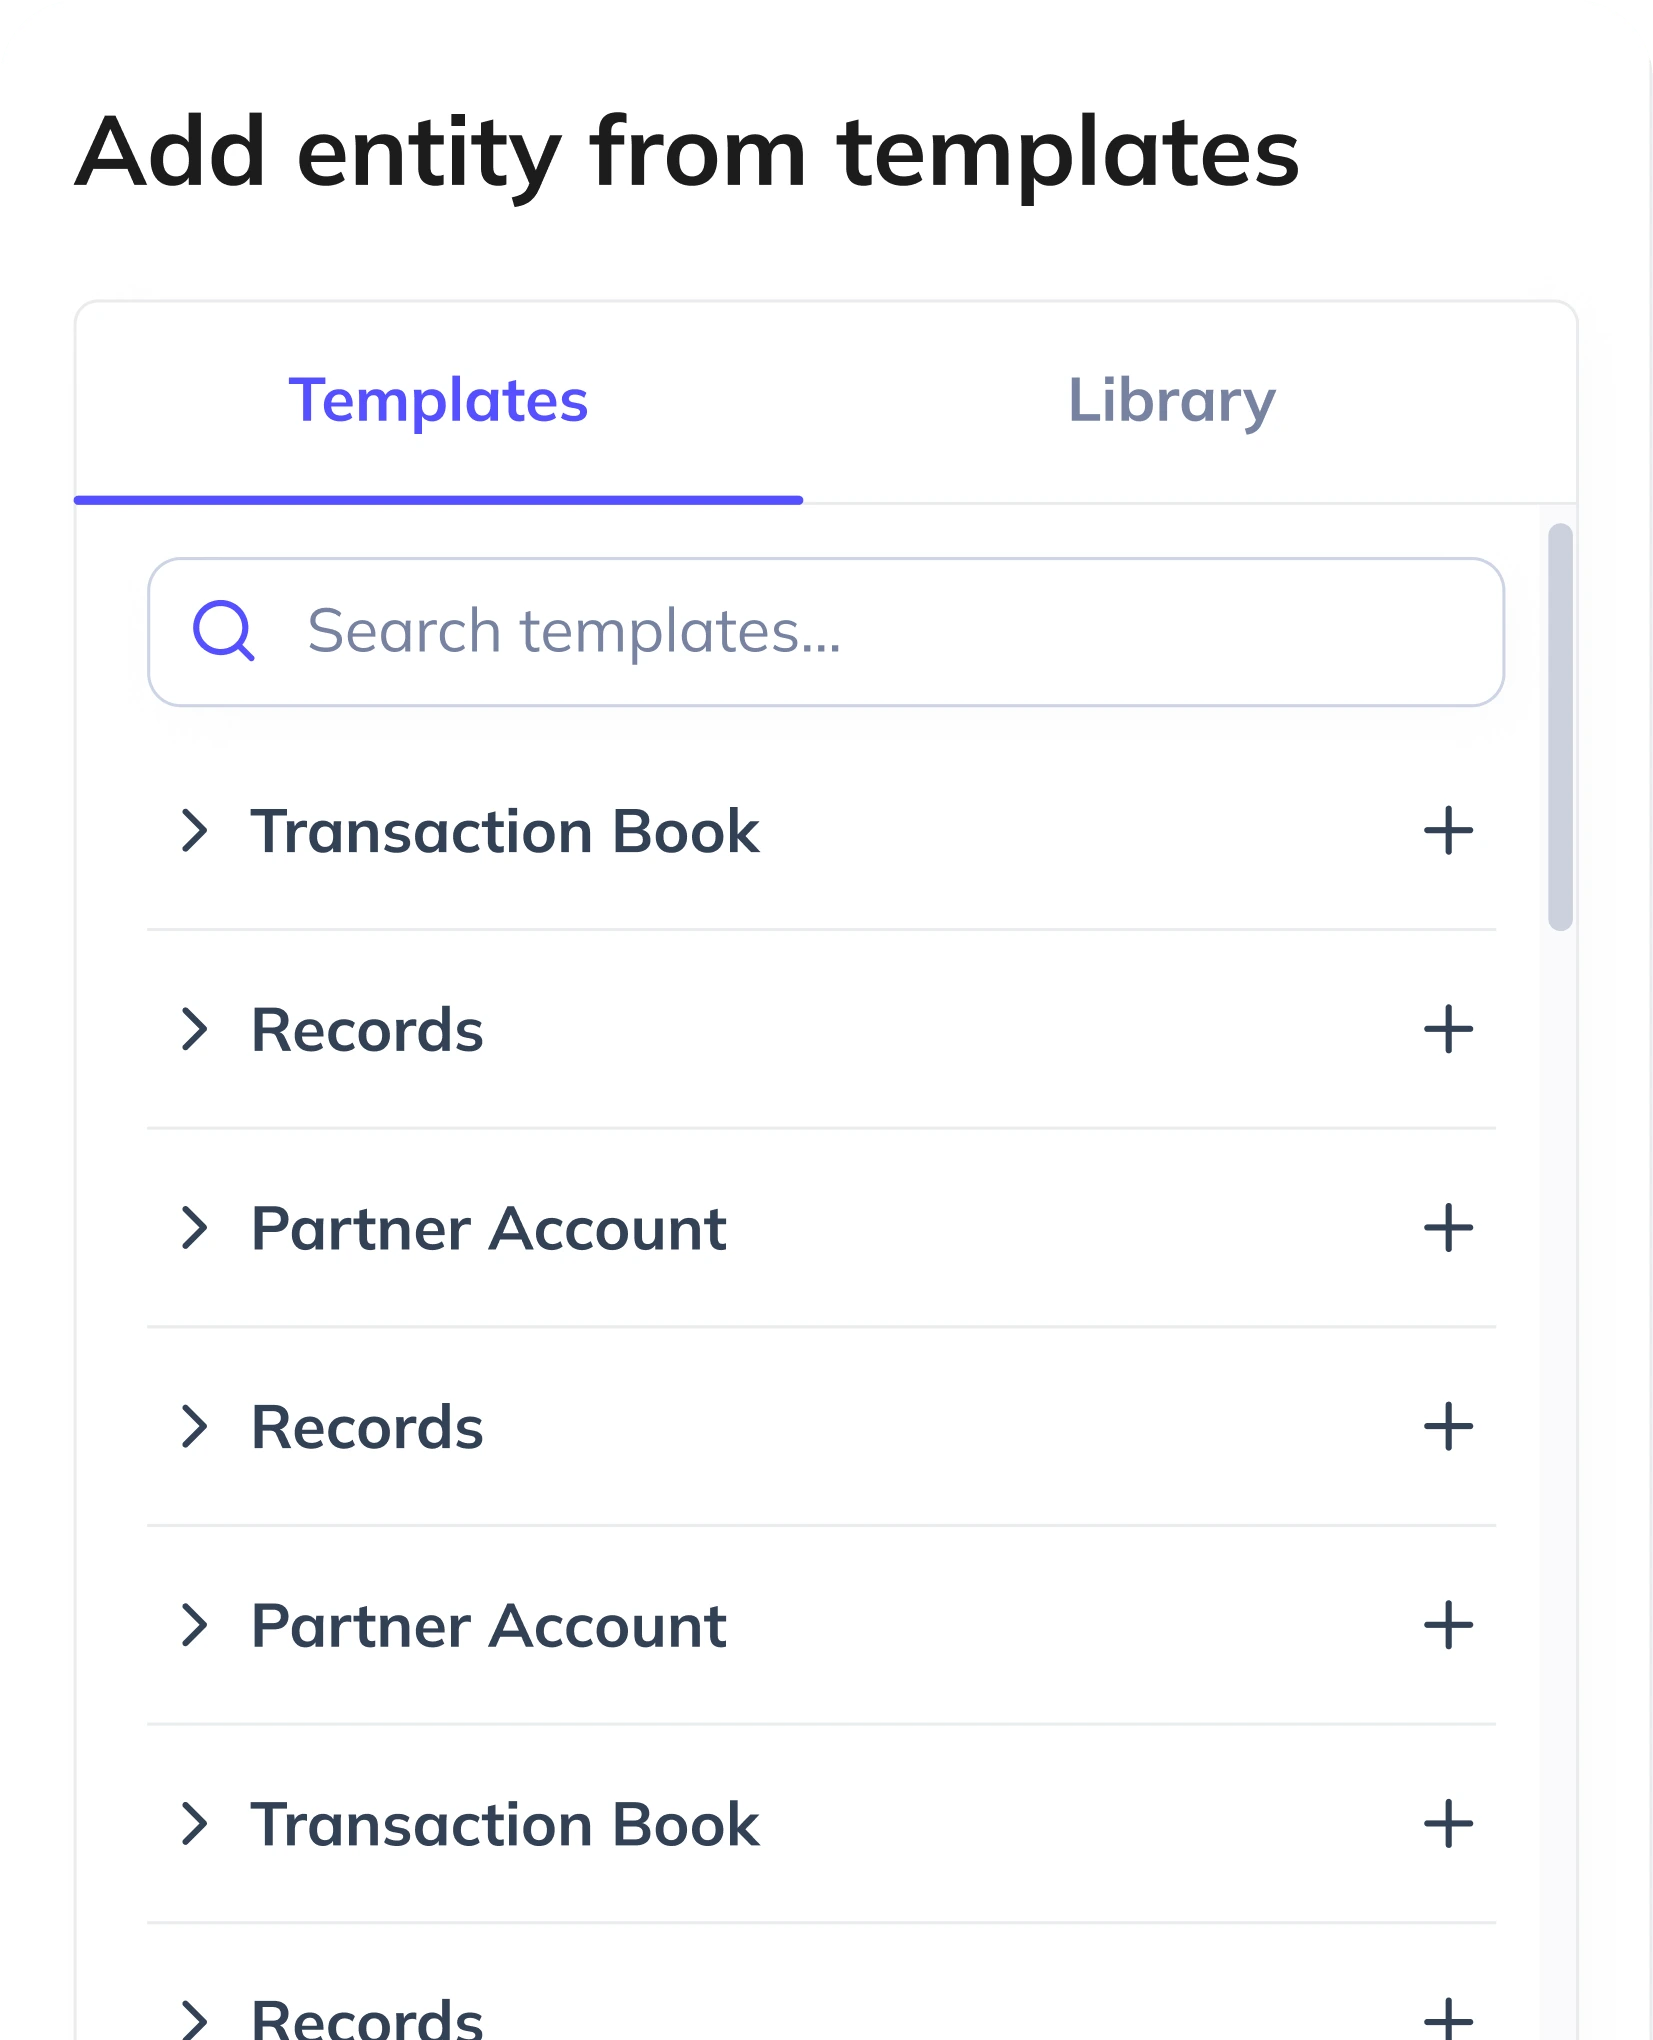
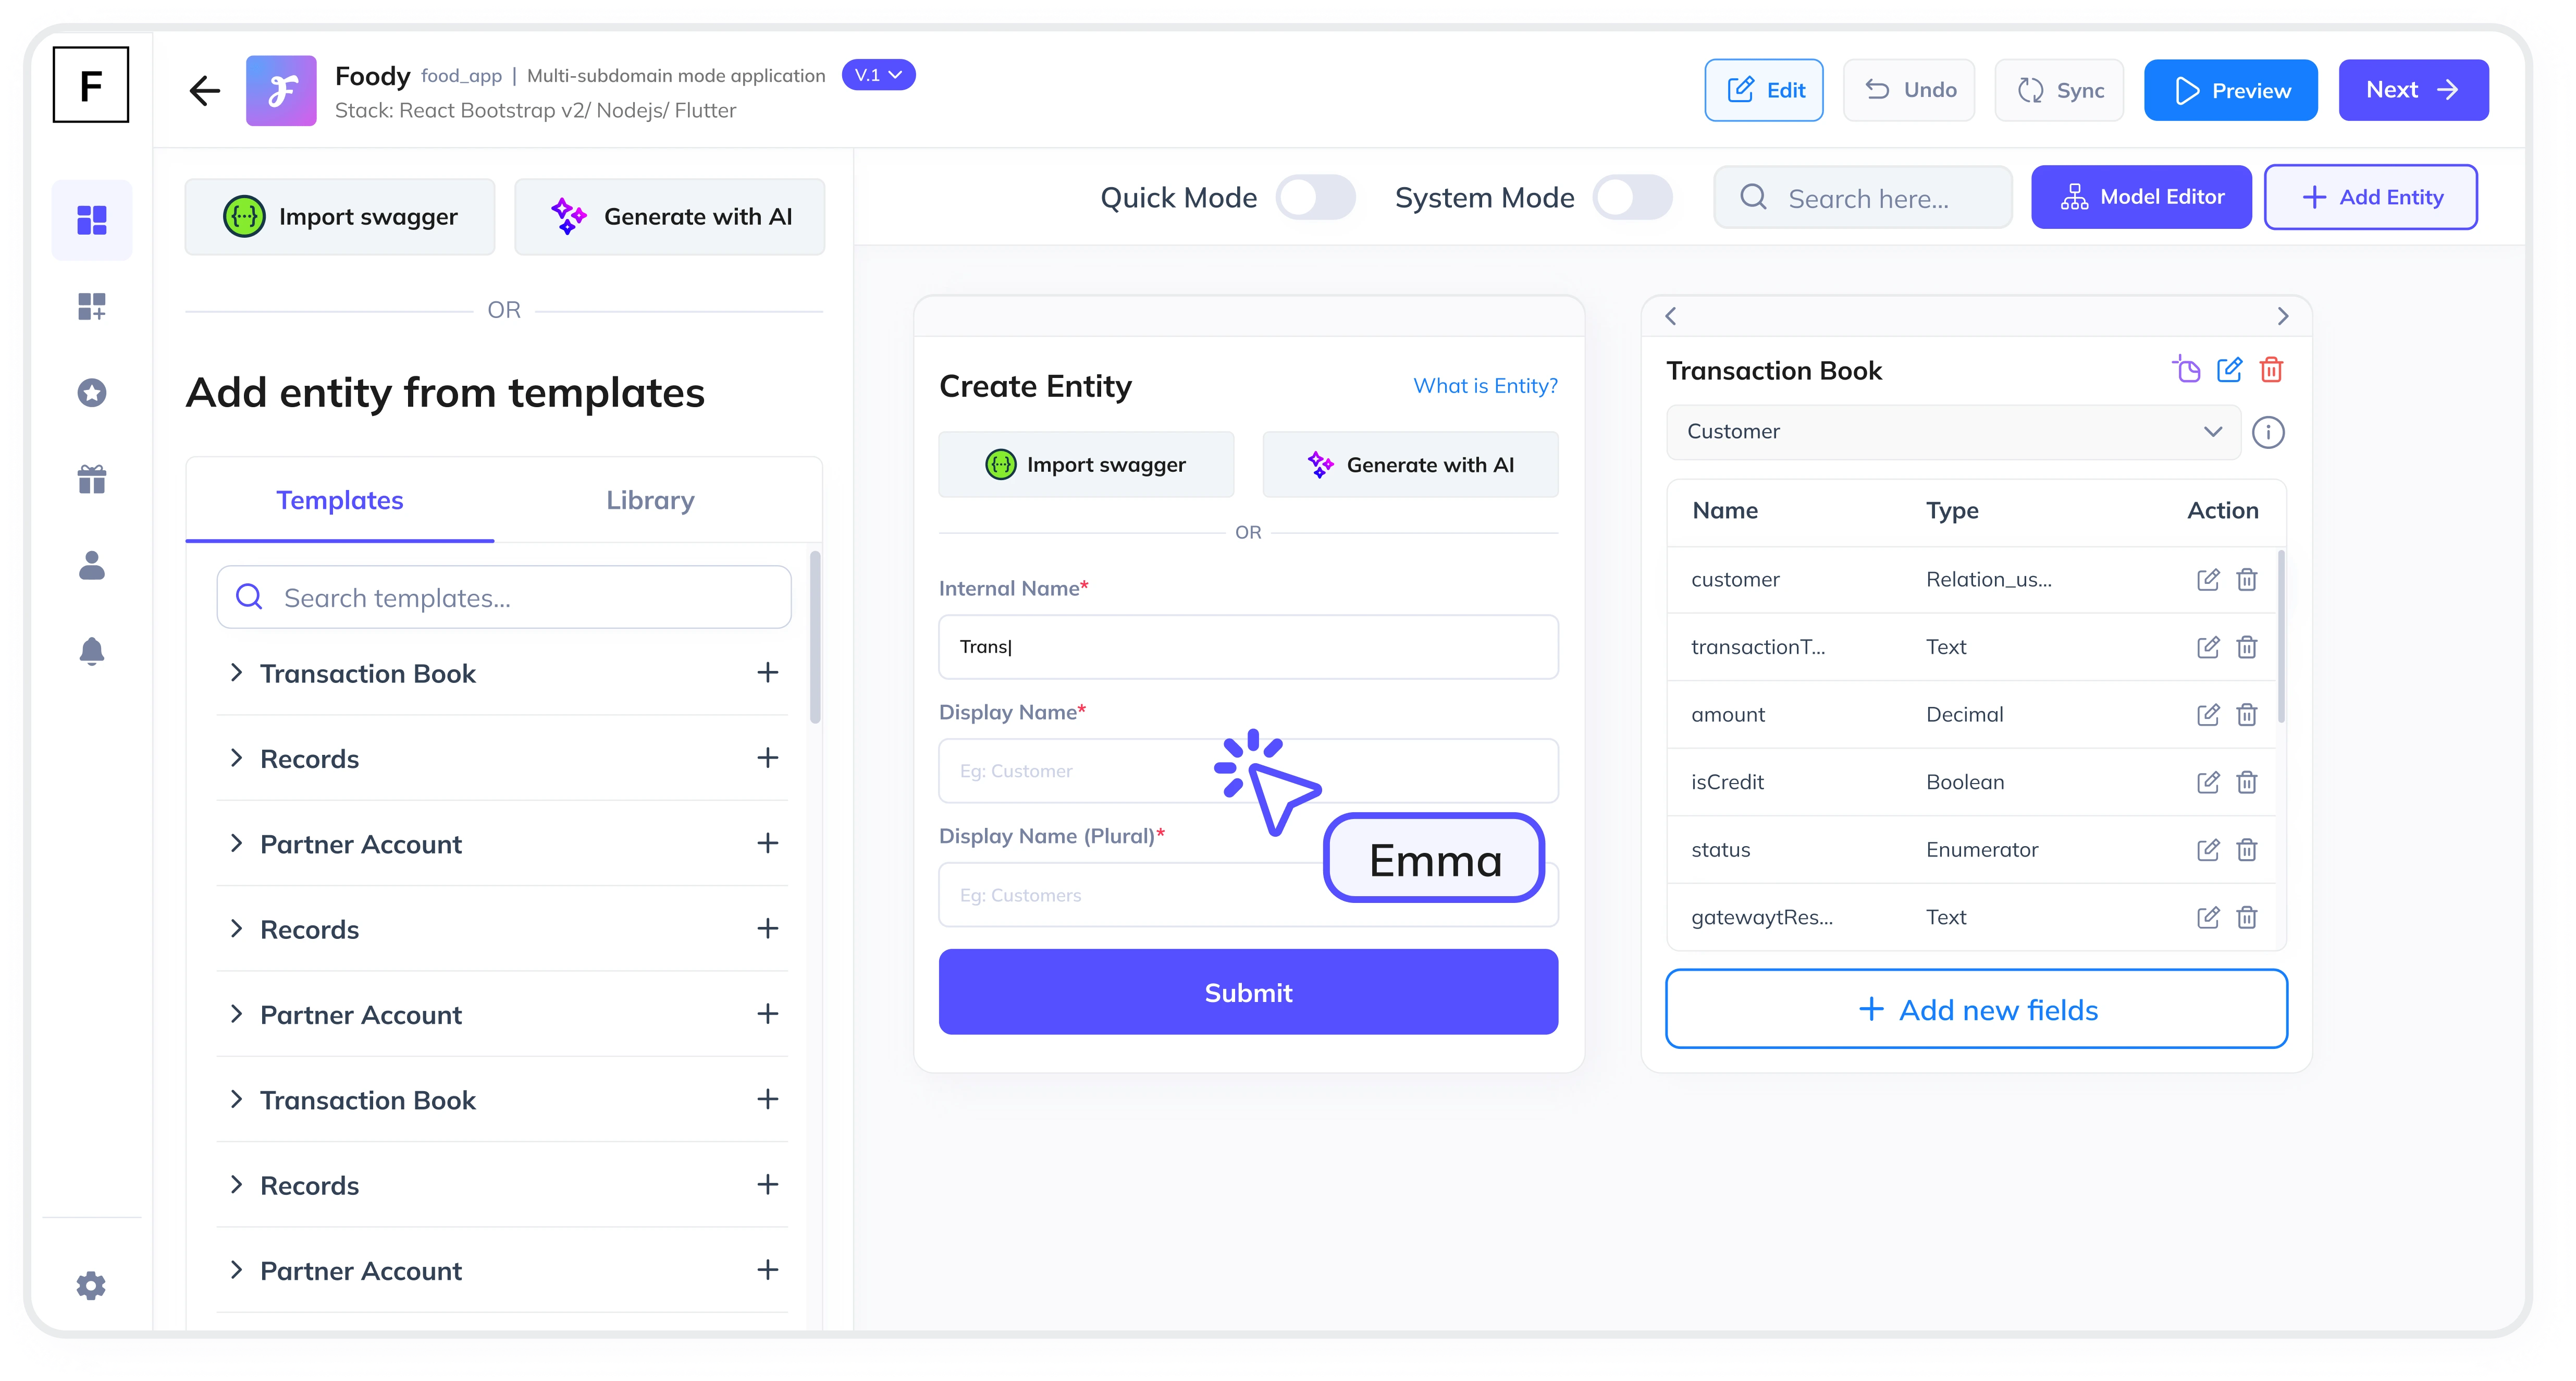
With FAB Builder, you can leverage AI-assisted entity creation to automatically generate a feature-rich baseline for your UI, which your development team can then customize to meet your specific needs.
Step 4: Implement Role-Based Permissions
Role-based permissions are essential for ensuring that only authorized users can access and modify the Progress Tracking Module. With FAB Builder, you can easily implement role-based permissions for all functionalities, including data import/export and file storage. This ensures that your module is secure and that sensitive information is protected.
Step 5: Integrate with Payment Gateways
If your project management tool is a SaaS application, you may want to integrate payment gateways to collect payments from your B2B or B2C customers. FAB Builder supports integration with popular payment gateways like Stripe, RazorPay, PayPal, Android PlayStore, and Apple Pay for iOS store. This allows you to offer subscription models or one-time purchase options directly within your application.
Step 6: Test and Deploy
Once your Progress Tracking Module is built, it's important to thoroughly test it to ensure that it works as expected. With FAB Builder, you can deploy your application to the cloud with just one click, using managed hosting services for AWS, GCP, and Azure. This makes it easy to take your MVP to a production-ready application.
Step 7: Monitor and Optimize
After deploying your Progress Tracking Module, it's important to monitor its performance and gather feedback from users. Use this feedback to make improvements and optimize the module for better performance and user experience.
Conclusion
Creating a Progress Tracking Module for your project management tool is a complex but rewarding process. By following this step-by-step guide, you can build a module that effectively monitors project milestones and deadlines, ensuring that your projects stay on track. With FAB Builder, you can create any application as a SaaS using multi-tenant configurations, allowing you to sell subscriptions to your B2B consumers.
Start building your Progress Tracking Module today with FAB Builder and take your project management tool to the next level.


