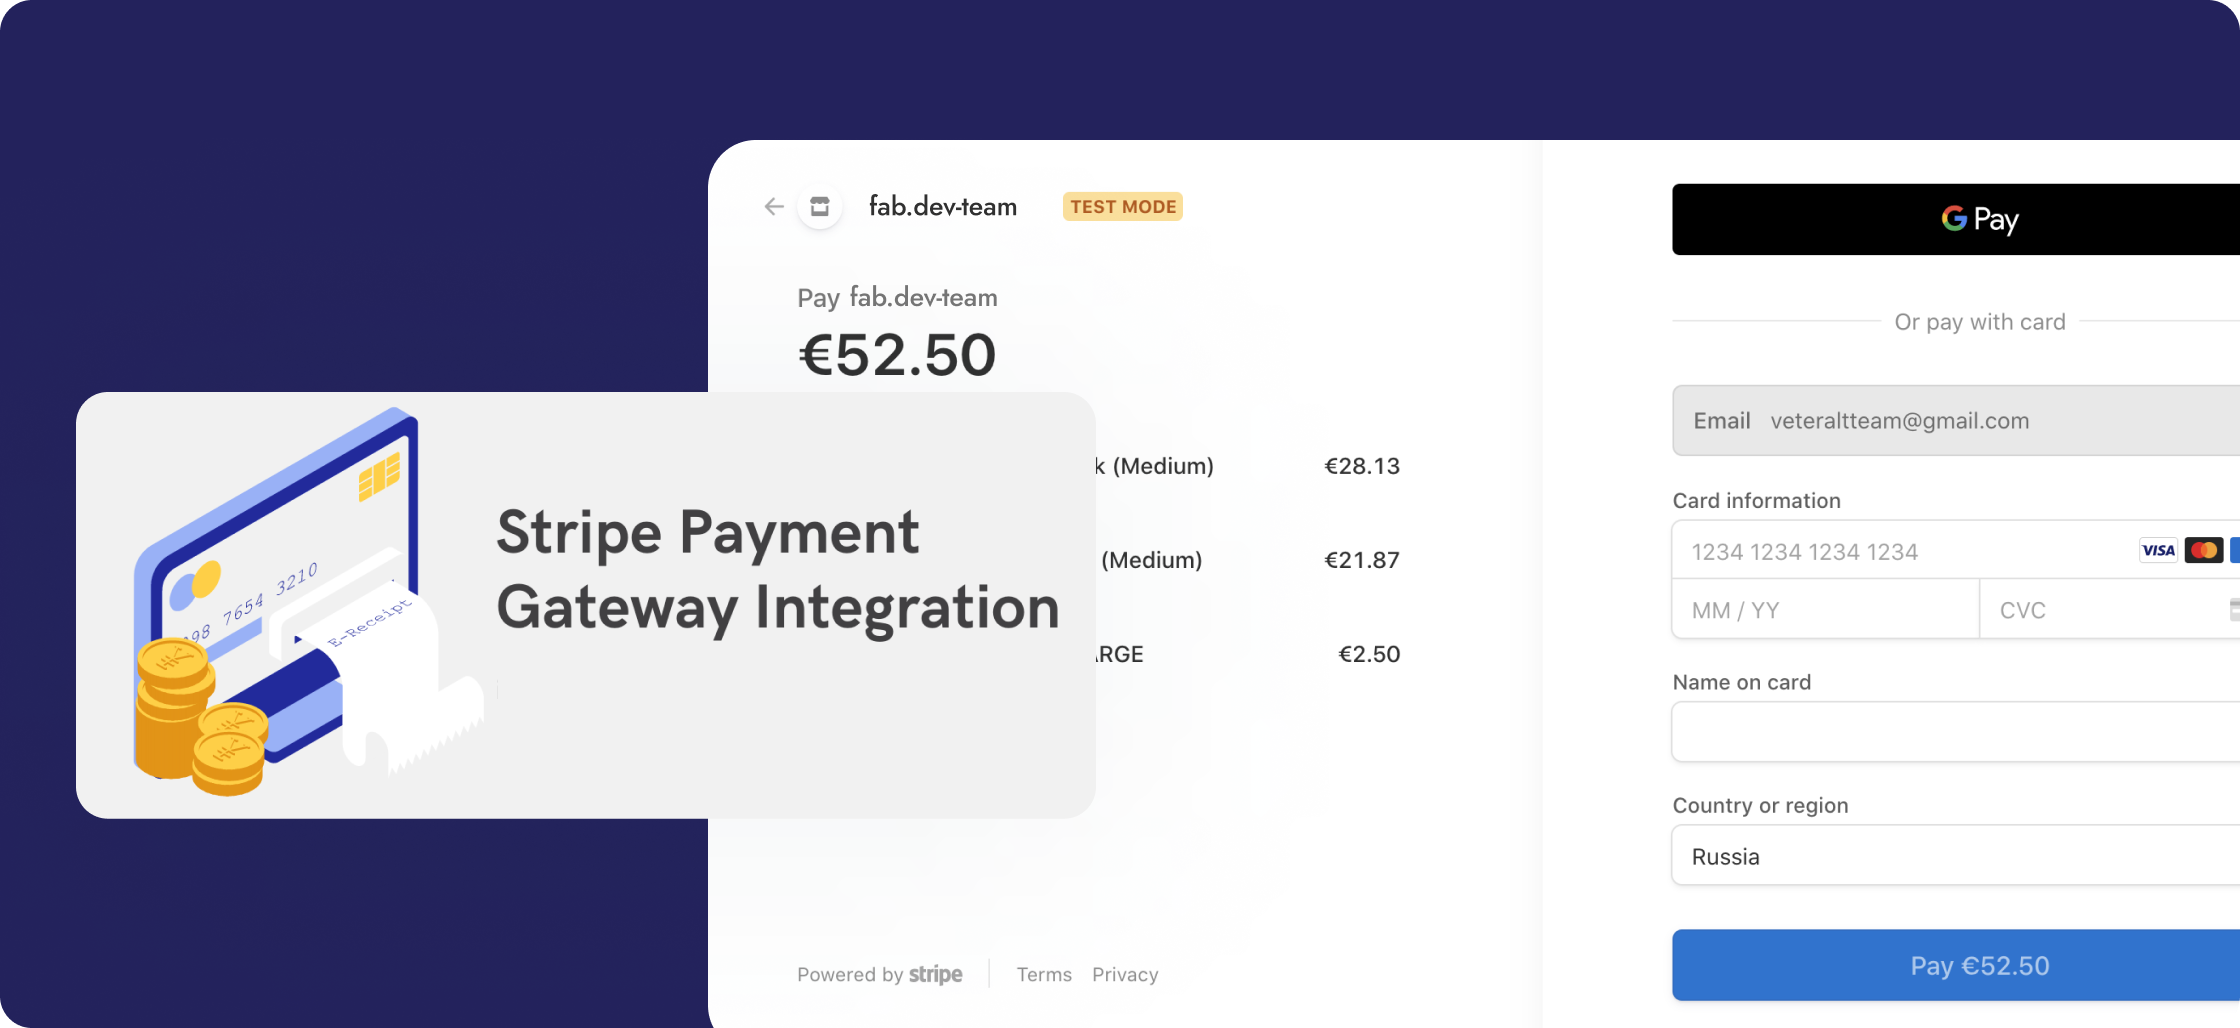
To integrate Stripe Payments for subscription plans, you can follow these general steps to set up the integration and manage recurring billing. Here’s a simple overview:
### 1. **Create a Stripe Account**
* If you don’t already have one, sign up on the [Stripe website](https://stripe.com/).
* After signing in, you'll need to set up your business and billing details to start using Stripe.
### 2. **Install Stripe SDK**
* Depending on your backend language (Node.js, Python, Ruby, etc.), install the Stripe SDK to your project.
For **Node.js**, run:
```js
npm install stripe
```
### 3. **Set Up Stripe API Keys**
* In your Stripe dashboard, find your **API keys** under **Developers > API keys**.
* Use the **Publishable key** on the front end and the **Secret key** on the back end.
### 4. **Create Subscription Plans in Stripe**
* Go to **Billing > Products** in your Stripe Dashboard.
* Create a new **product** and set up pricing options (monthly, yearly, etc.) that will be offered to customers.
### 5. **Build the Checkout Page**
* On the frontend, integrate Stripe’s **Checkout** to create a subscription process.
Example of creating a checkout session with **Stripe.js**:
HTML
```js
```
### 6. **Create Checkout Session on the Server**
* On the server-side, you’ll create a checkout session to handle the customer’s payment. Here’s an example using **Node.js**:
```js
const stripe = require('stripe')('your-secret-key-here');
app.post('/create-checkout-session', async (req, res) => {
const session = await stripe.checkout.sessions.create({
payment_method_types: ['card'],
line_items: [
{
price_data: {
currency: 'usd',
product_data: {
name: 'Subscription Plan',
},
unit_amount: 1000, // $10.00
},
quantity: 1,
},
],
mode: 'subscription',
success_url: 'https://your-site.com/success',
cancel_url: 'https://your-site.com/cancel',
});
res.json({ id: session.id });
});
```
### 7. **Handle Webhooks for Subscription Events**
* Set up **webhooks** to receive notifications when the subscription status changes, such as successful payments, cancellations, or failures.
* Register your webhook URL in the Stripe dashboard under **Developers > Webhooks**.
Example of handling a webhook:
```js
const endpointSecret = 'your-webhook-secret';
const sig = req.headers['stripe-signature'];
try {
const event = stripe.webhooks.constructEvent(req.body, sig, endpointSecret);
switch (event.type) {
case 'invoice.payment_succeeded':
// Handle successful payment
break;
case 'invoice.payment_failed':
// Handle failed payment
break;
// Add more event types as needed
}
res.json({ received: true });
} catch (err) {
console.error('Webhook error:', err);
res.status(400).send('Webhook error');
}
```
### 8. **Manage Customer Subscriptions**
* You can use Stripe’s dashboard or API to manage subscriptions, such as upgrading, downgrading, or canceling the subscription.
### 9. **Display Subscription Details to Customers**
* After the customer subscribes, use the **Stripe API** to fetch the subscription details and display it on their profile or dashboard.
By following these steps, you'll be able to integrate Stripe Payments with subscription plans in your system.
Integrate Stripe Payments for Subscription Plans | Guide
Ishaan Puniani
Feb 7, 2026

